How to Use Diamond Drill Bits
Keeping Diamond Hole Saws Cool and On Target
How to Use Diamond Hole Saw
How to Use Diamond Drill Bits
In this post, we will try to give you some basic DIY information on how to use diamond drill bits and How to Use Diamond Hole Saws. Generally speaking, diamond drill bits – diamond hole saws are used on brittle materials such as ceramics, porcelain, glass, granite, marble, quartz, tiles, etc. To see our selection of diamond drill bits please visit our store. You can also visit our Amazon Store
What is a diamond drill bit?
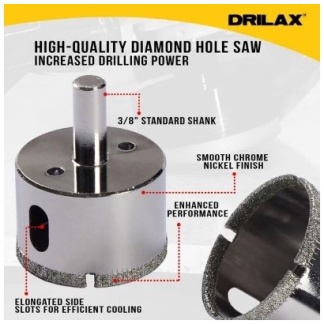
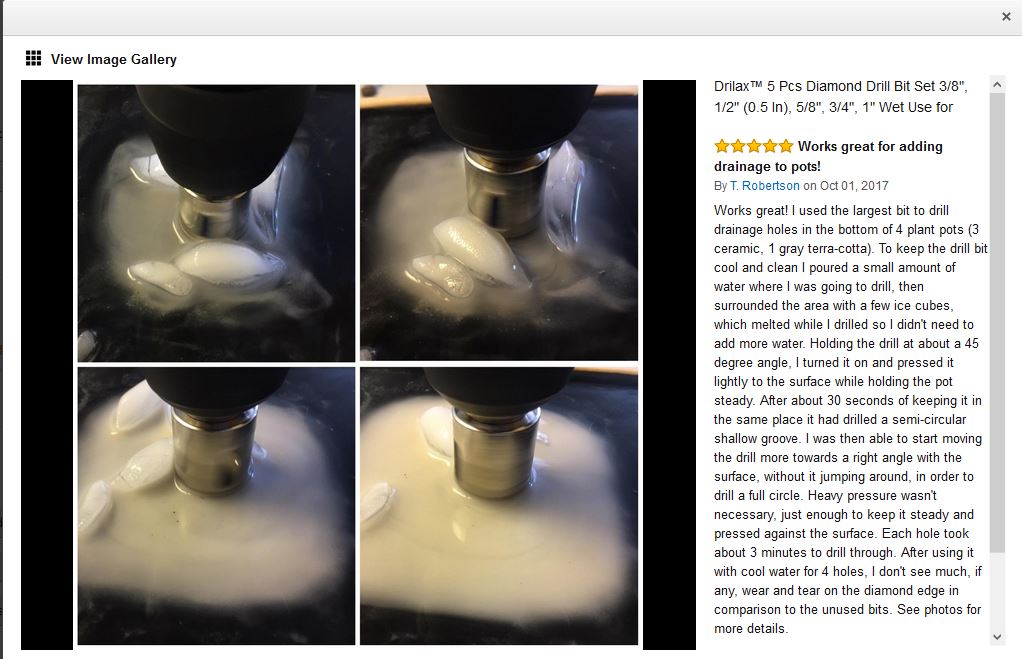
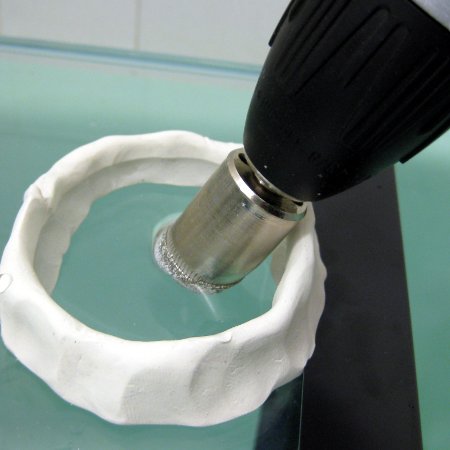
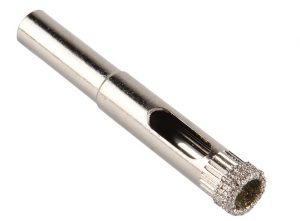
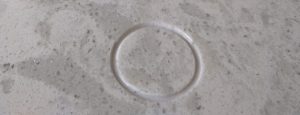
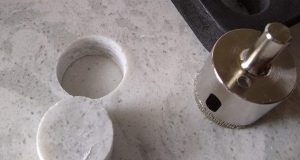
We usually start giving instructions and tips about tools before we address a simple question: What is a diamond drill bit? A diamond drill bit is nickel coated metal circular piece (a tube) with a shank for the drill. The rim of the circular tube is coated with artificial diamond abrasive particles. And these diamond abrasive particles do all the work. Although these tools are called drill bits, the main working principle is the grinding action. Diamond abrasive particles adhered to the rim of the diamond hole saw grinds away the material in a circle and a hole is formed by removing a core plug. The first image below shows how the grinding away starts.
How long does a diamond drill bit last?
One of the main differences between a regular drill bit and diamond drill bits: you can not sharpen diamond drill bits. Diamond drill bits will last as long as you keep the diamond abrasive particles on the rim of the bit. There are two kinds of diamond drill bits:
1- Electroplated Diamond Drill Bits
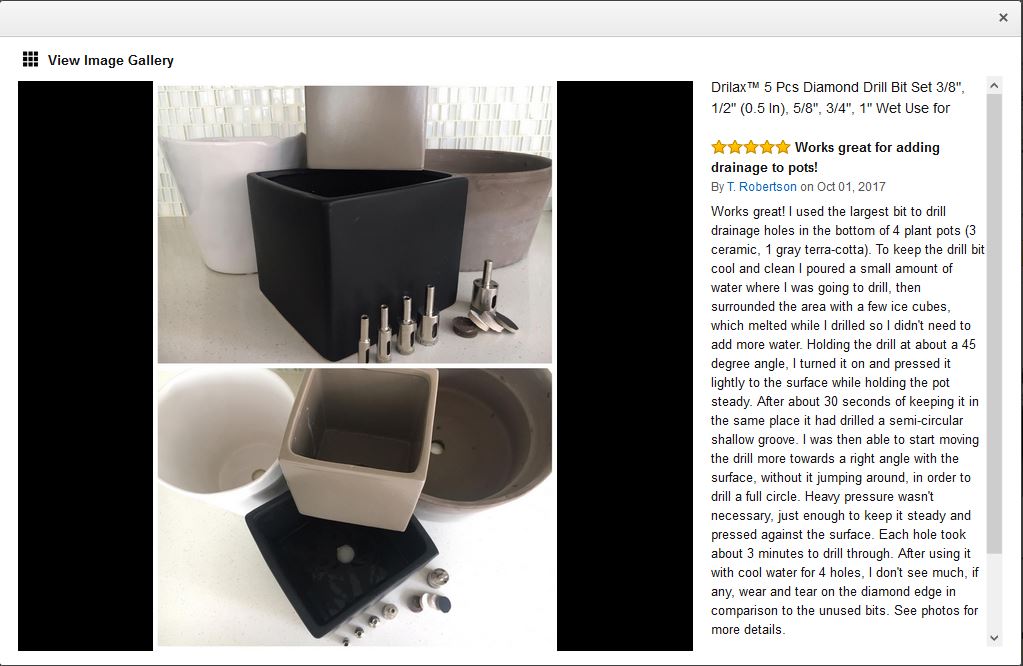
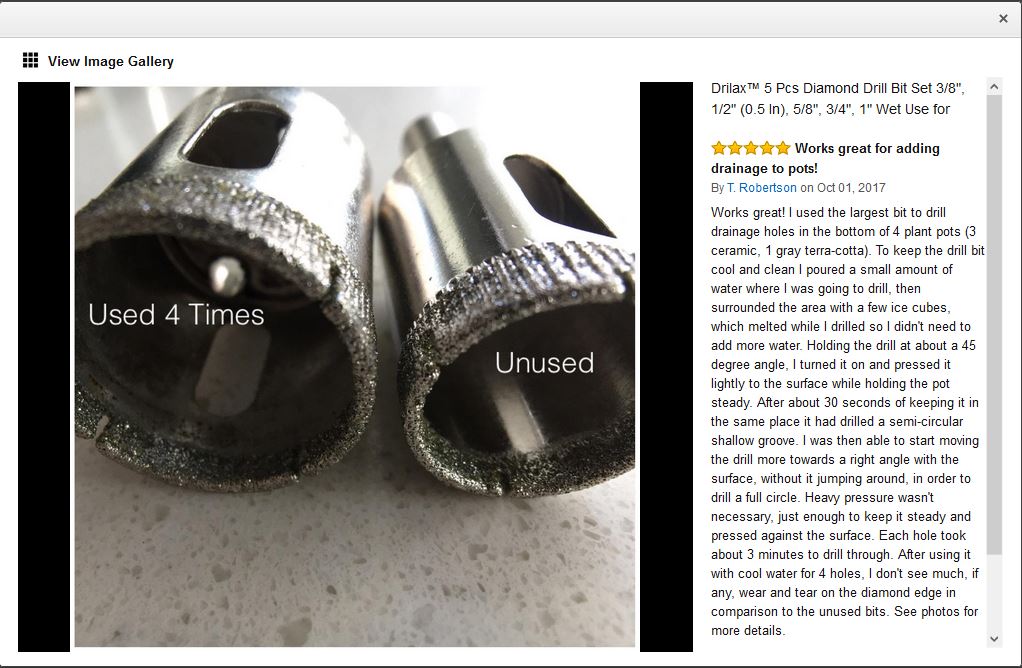
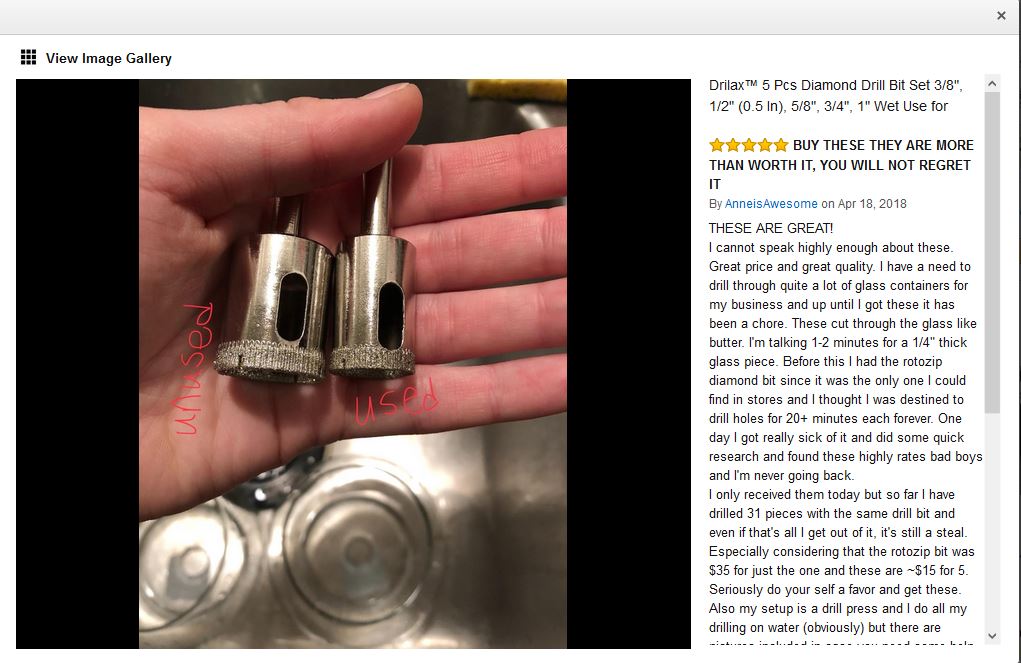
These types of diamond drill bits are often considered light to medium-duty tools. The diamond abrasive particles adhere to the rim with a metallic bond. If the tools are overused or abused, the increased temperature will cause the bond to break. The diamond abrasives will be gone and the diamond hole saw rim will have no grinding action left. You can not sharpen or reattach the diamond particles. If the diamond drill bit is used properly, it will last a long time and will serve very well. Please see our posts on how to use diamond drill bits keeping them cool and on target. One of our previous customers posted a comparison of two Drilax diamond drill bits, one of the unused and the other used 4 times.
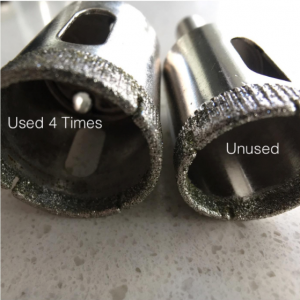
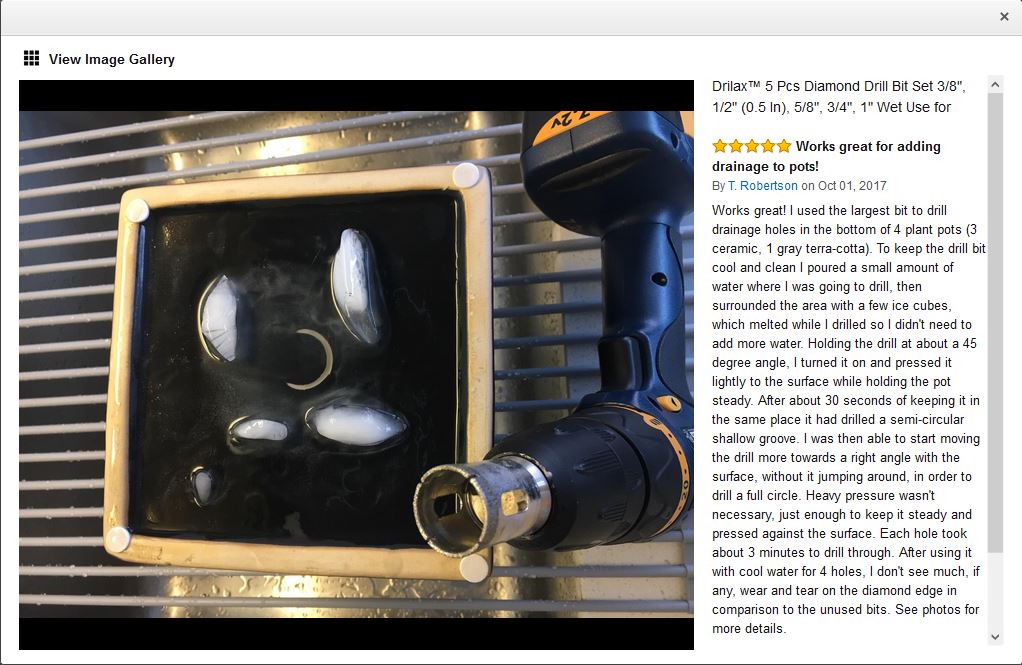
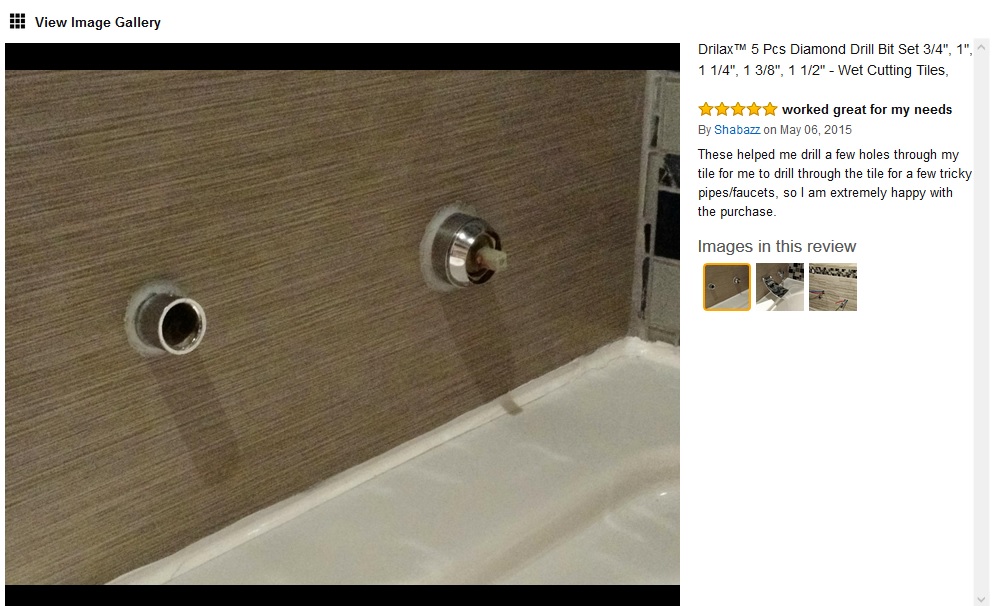
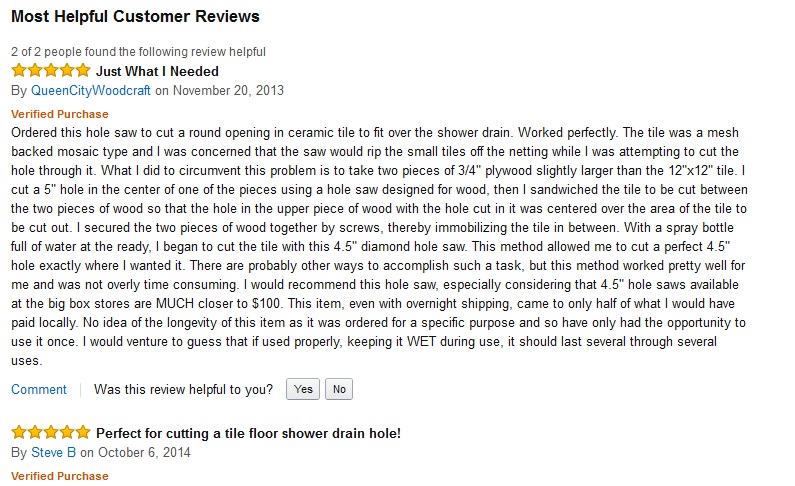
While using our standard diamond drill bits, it’s important to recognize these basic principles. In a product review, one of our customers says:

2- Heavy Duty Sintered Diamond Drill Bits
The heavy-duty type diamond drill bits, diamond hole saws have the diamond abrasives embedded in the metal itself. There are no visible diamond particles on the rim. These types of tools will last hundreds of times and they could be used dry. However, we always suggest using water for better performance. In this picture below, you can see one of our heavy-duty diamond hole saw for concrete or masonry drilling.
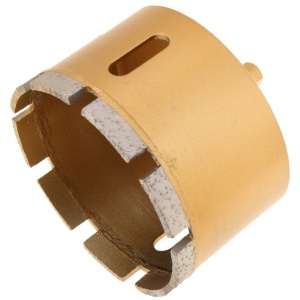
These Drilax Heavy Duty Concrete Hole Saws can be used with regular drills because they have standard 3/8 shanks for standard chucks. One of our customers has posted a few pictures of the 4-inch holes they drilled with Drilax Heavy Duty 4 inch Diamond Hole Saw. He was very happy with the results.
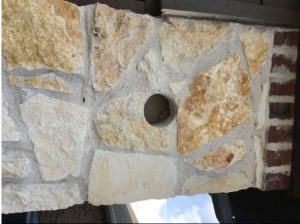
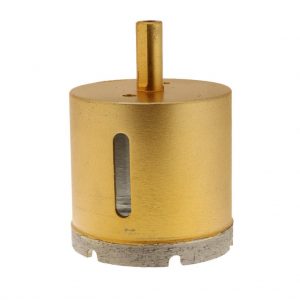
In addition to these models, we also have Professional Series Heavy – Duty Diamond Hole Saws for very deep drilling.

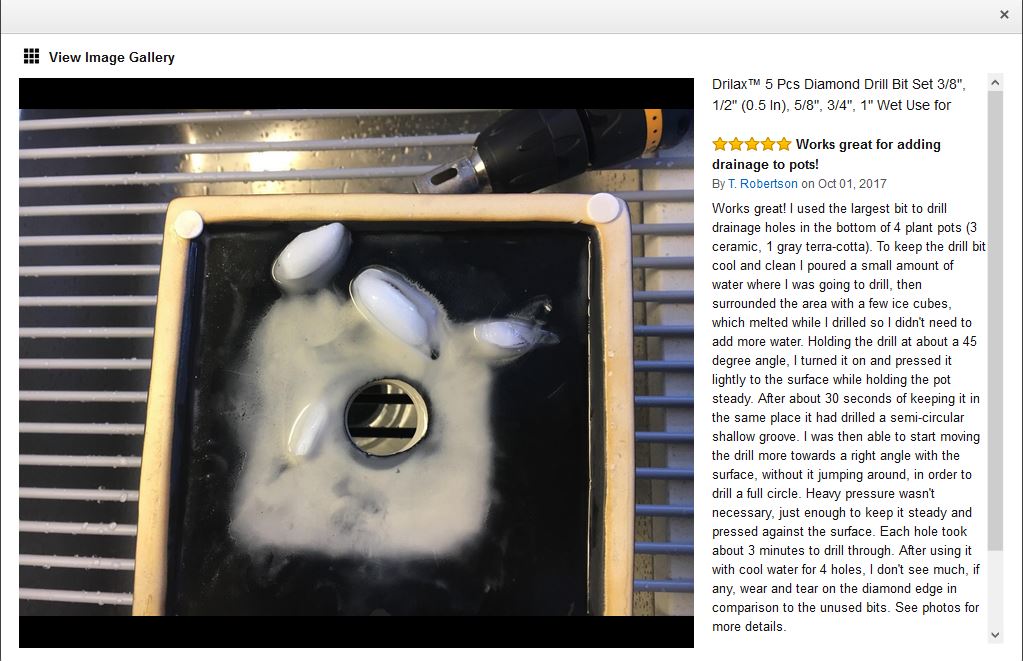
Using water for cooling the tool is important. Here are ways to keep the tool to prevent overheating:
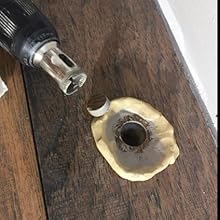
Build a Small Water Dam
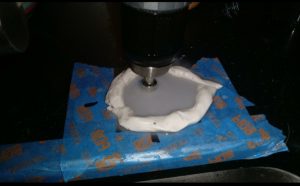
Plumbers putty is great for building a mini water dam around the hole area.

Positioning the diamond drill bit can be a challenge and it is an important part of how to use diamond drill bits. Here are some of the ways you can start drilling the hole:
Start the Hole At an Angle
Pilots drill bits are not useful when it comes to drilling brittle materials. To drill holes in porcelain or ceramic tile, glass or granite, start the hole at an angle and slowly work it straight.
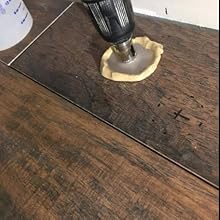
Here is a close up for “starting the diamond hole saw at an angle”
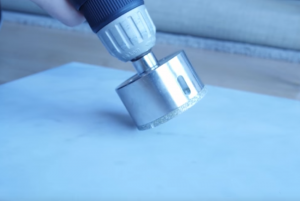
You can go up straight, once you for a C Slot cut in the material:
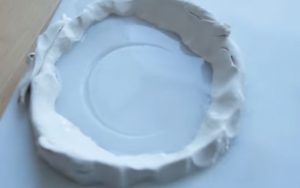
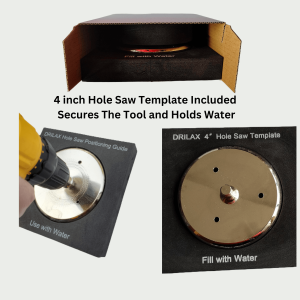
Some of our products such as 3 inch, 4 inch, and 4-1/2 inch Drilax Diamond Hole Saws come with a locator template.
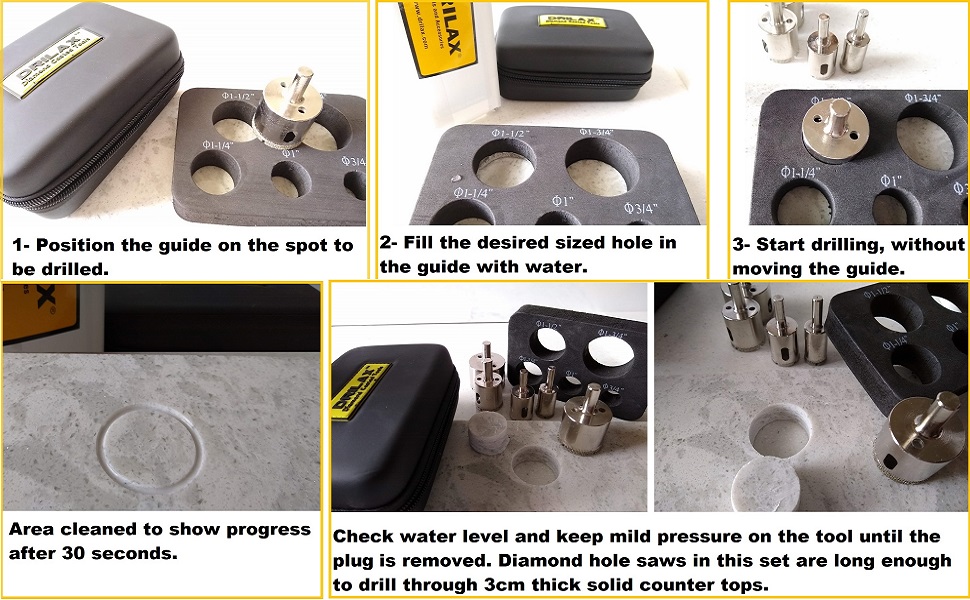
Diamond hole saws are known for their efficiency and precision, but they do require proper cooling to prevent overheating. To maintain the longevity of your tool and achieve the best results, it is essential to follow the cooling guidelines. We have also included a drill template that serves a dual purpose of holding the hole saw in position and facilitating the cooling process with water.
If you are drilling a hole on a horizontal surface, please fill the drill template with water as instructed. This setup assumes a regular application where water can be contained within the template, providing continuous cooling to the hole saw. The water helps dissipate heat and prevents the tool from getting too hot during operation.
However, if you are drilling a hole in a wall or any other vertical surface, the drill template can still be used as a positioning guide. In this case, please note that the water cannot be held within the template due to the orientation. Instead, we recommend dipping the tip of the tool into water every 5-10 seconds. This intermittent cooling method ensures that the tool remains at an optimal temperature, reducing the risk of overheating.
By following these guidelines, you will maintain the effectiveness and durability of your diamond hole saw, allowing you to achieve accurate and clean cuts in various applications.
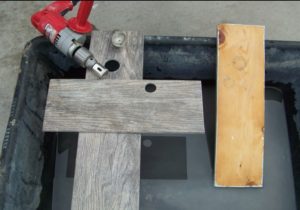
As an alternative, you can use one of our sets that come with a foam insert guide.
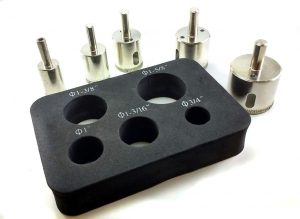
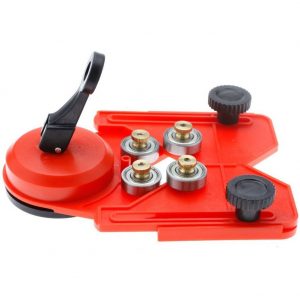
You can also use our adjustable guide for positioning the diamond hole saw. You can see our instructions on how to use diamond drill bits with guides here. One of the helpful tips about using our guide is this: run your drill in the reverse direction. Diamond hole saws will work in either direction, by running the drill in reverse you will make sure thumb screws never get lose.
DIY TIPS
1- This is a guide for diamond hole saws and its main function is to get the hole started on the right spot. Once the hole has started, the diamond hole saw will continue drilling. You will not have to use the guide all the way through the hole. After 1 minute of drilling, you can remove the guide. Guide and the ball bearings do not have to there for the whole duration of the process.
2- Diamond hole saw applications require water for cooling. Thanks to this water, the dust turns into mud. If water is used, there should not be any dust to contaminate the work area.
3- Diamond hole saws will cut in either direction. You can run your drill counterclockwise. If you use the drill counterclockwise, it will tighten all the nuts as you go. You won’t need to worry about loose nuts and bolts.
4- This is a very versatile product and you can use it with or without the second plate. If you remove the plate, the V shape notch will be enough to start the hole. Once again, you do not need the guide for the whole duration of the drilling.
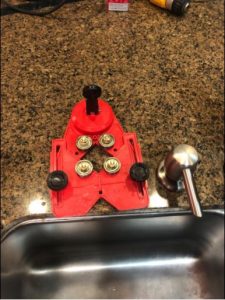
Perfect Hole in Tile
This is how you can achieve results with Drilax Diamond Drill Bits.
Using Diamond Drill Bits for Jewelry Making
Diamond Drill Bits for Stone Jewelry:
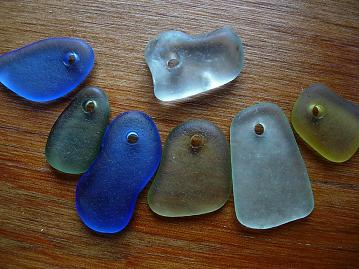
We also carry very small diamond drill bits with diameters of 1mm, 1.5mm, 2mm, 2,5mm, and 3mm. These are mostly used by artists for drilling holes in precious stones, seashells, sea glass, rocks, beads, etc.

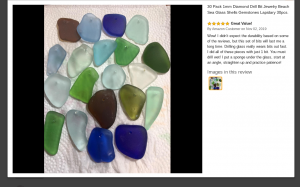
Over the years, we have gathered these suggestions on how to drill sea glass to make jewelry:
DIY TIP 1: A high-speed tool works best, speed is important, not pressure.
DIY TIP 2: Cooling is important. Keep the hole you’re cutting constantly bathed in water. You can feed water to the drilling spot, always keeping it wet. Or you can submerge the whole piece in water in a plastic container. DO NOT SUBMERGE any electric tools.
DIY TIP 3: Start at an angle, use MINIMAL pressure on the drill, just enough to let the diamond abrasive grind away the material. Once you make the initial mark, go upright vertical. Using pressure will just damage the drill bit and not get you there any sooner.
DIY TIP 4: You should clean the tip of the bit with water every 10-15 seconds.
Along with these tips, practice is required. There are many bits in the case, a few of them may be imperfect. Just try a different one. If you received too many imperfect bits, just let us know and we will replace them for you.
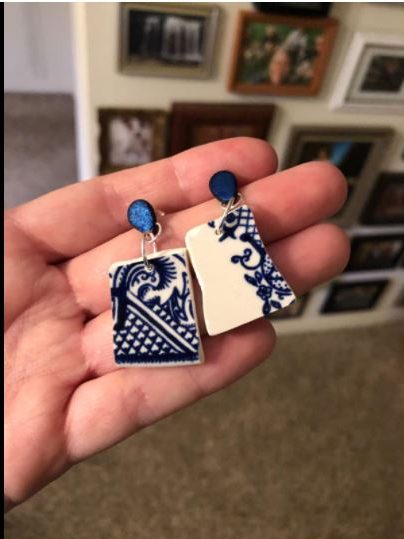
One of our recent clients has posted this picture and wrote about her experience with Drilax diamond drills bit for jewelry:
“I needed bits that could drill through porcelain and these are PERFECT!
I place the porcelain on a wet sponge in a small Tupperware container to make sure the bit is always wet and it takes about a minute to drill completely through. I’M SO HAPPY”
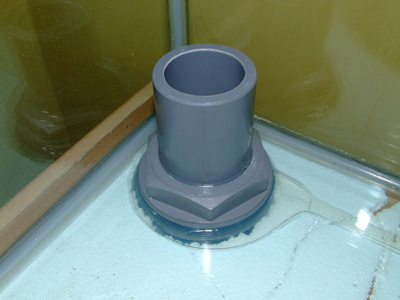
Tub Drain Project
Using one of the larger Drilax Diamond Holes, this project for tub drain is completed. The small hole is for water pipes.

How much are diamond drill bits?
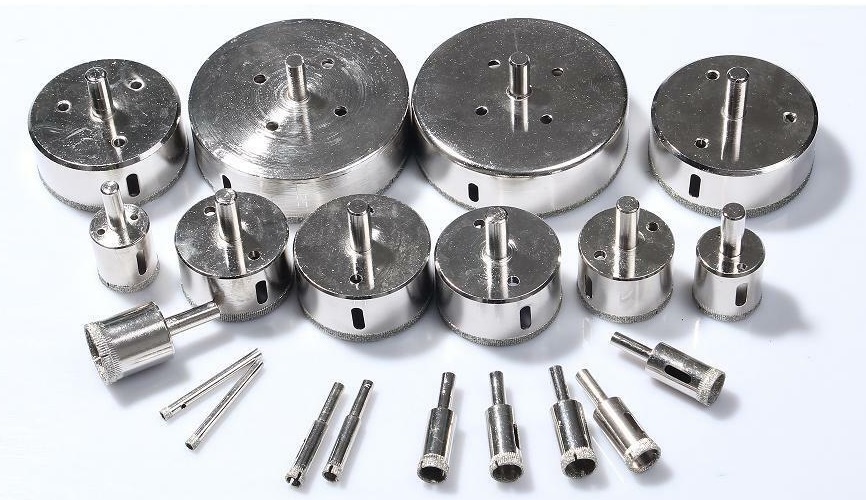
We have a very wide range of sizes, depth of cut, and types of tools. The average price of a diamond drill bit if purchases in a set could be as low as 2 dollars. We also have monster size diamond drill bit holes saws with 6, 7, 7-1/2, 8 inches diameter, their prices can be over 100 dollars.
How to make lamps out of wine bottles?
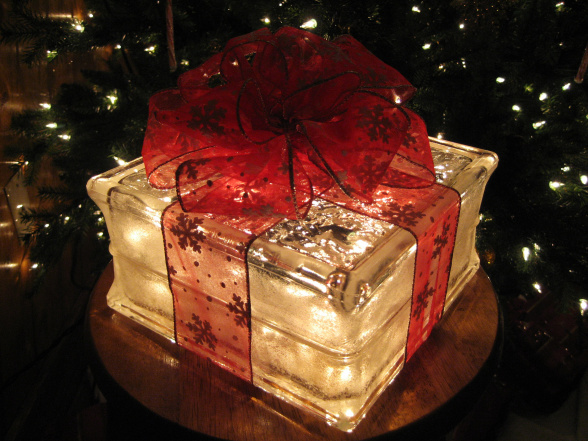
This is one of the questions we receive frequently especially during the holiday seasons. The question is concerned with “drilling holes in glass bottles” for different decorating ideas.
The recommended tool for this task is a diamond drill bit. Most people find it hard to believe but you can actually drill very clean holes in glass bottles or blocks to make lamps or other decorations. The holes are mostly needed to run the electric cables or bulbs.
There have been some out of date discussions on the internet that will recommend regular drill bits or types of carbide drill bits for glass. Diamond drill bits will produce the best results. Some people do not know about the new technology diamond drill bits. For more information and instructions on how to use diamond drill bits, please visit our instructions page.

We always urge you to practice safety and patience. You can be successful if you follow the basic tips.
Pay attention to these when drilling holes in glass bottles:
- It is a good idea to practice on some junk bottles before doing the actual projects.
- AT ALL TIMES wear safety goggles and protective thick gloves.
- Please do NOT push the drill bit hard, it’s the grinding action that will do the work.
- Be patient and go slow.
- Keep the tools cool with water – do NOT submerge any electric tools in water.
You can prefer the side of the bottle and not the bottom. Bottoms are extra thick for drilling.
Tools and Materials
- You can use a hand drill (electric or cordless) or you can use a drill press.
- You need some kind of a cushion-like a thick table cloth or folded towel between the bottle and work surface.
- Some types of protective gloves, like leather or such.
- Water for cooling.
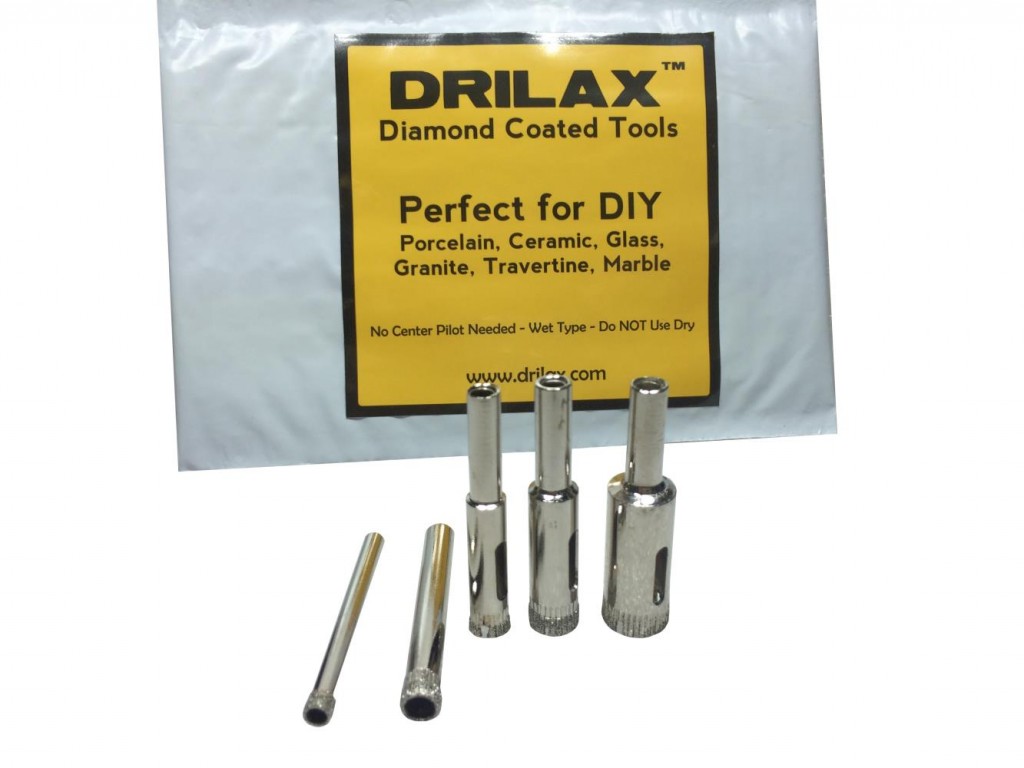
- Drilax diamond drill bits
There are two areas of focus here:
- Keeping the diamond drill bit cool: Electroplated diamond coating will wear off if the tool gets too hot. Never let your drill bit run dry. Here is how you could use water to keep the tool cool:
a- You can build a mini water dam around the hole with plumbers putty.
b- You can choose to spray water on the drill bit.
c- Or you can use running water to cool the drill bit. - Keeping the drill bit in position
If you are using a drill press positioning is not much of a challenge. But if you are using a hand drill, it could be more difficult.
With hand drills, we recommend using a piece of thick cardboard or plastic with a hole as your guide.



Please refer to our post about this topic.
Why Not Any Pilot Drill Bits?
Based on our experience, most of the diamond-coated drill bits – hole saws are manufactured without a pilot drill bit. People expect pilot drill bits based on their experience with soft materials such as wood, plastic, metal.
Pilot drill bits are not good for brittle materials. They will crack glass – tile – granite, etc. We specifically do not have the pilots because
a) pilots get dull before the hole saw b) pilots have a tendency to crack brittle materials like glass.

